Got leeks piling up? Are they weighing on your conscience ‘cuz you’re not getting around to using them? Need a nuclear option? As Rebecca’s recipes will attest, there are plenty of ways to use them, but when you find yourself with a backlog, sometimes you have to take decisive action to reduce the population, as otherwise I’d swear they secretly reproduce overnight in the fridge.
[Oh, and by the way, I should’ve mentioned them as an ingredient in last week’s Parsnip soup — they could of course be used to excellent effect instead of (or in addition to!) the onion. Mea culpa for the omission!]
So the question is… what kind of recipes use lots of leeks yet don’t make you sick of them? One is the ol’ “crispy leeks” snack I wrote about a few years ago (you can use up quite a few that way!). But another sure-fire way to turn a large volume of leeks into a small, delectable quantity is… to caramelize them.
Whether you’re using leeks or onions, the caramelization process is more or less the same. And it is very much a slow food thing. You’re not browning them, you’re cooking them ever-so-slowly over the lowest possible flame in a good heavy-bottomed skillet (the thickness helps to diffuse the heat evenly so you don’t get burned spots). If you have a heat diffuser for your stove burner, all the better. Use it too.
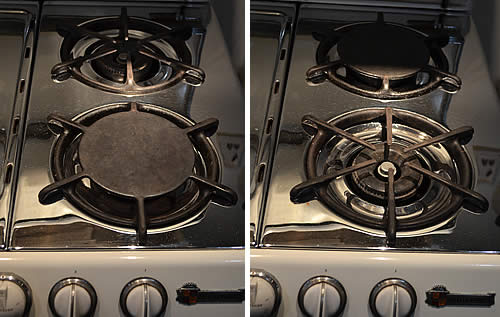
This is what I mean by a heat diffuser. On my old ’50s O’Keefe & Merritt stove, the burner tops are swappable. At left below, I’ve moved the “diffuser” burner top to the front for use. The thickness of the diffuser combined with the thickness of the skillet makes for nice even heat. At right, it’s back where I usually keep it.
Once again, the process couldn’t be simpler. All it takes is patience. Slice up lots of onions or leeks as thinly as possible. I have a lovely little hand-slicer a friend gave me; makes paper-thin slices. But really, a good sharp knife will do the job too.
Melt about half a stick of butter and a generous few blorts of olive oil in a large heavy skillet over LOW heat. Add onions or leeks, stir to coat, then put a lid on, double-checking to make sure that heat is as low as you can get it… and wait. Check and stir every ten minutes or so.
After the first 10 minutes you’ll see they’ve started to sweat and give off a lot of liquid. This is good. give ’em a stir and return the lid. Check it again in 10 minutes; stir, cover, repeat.
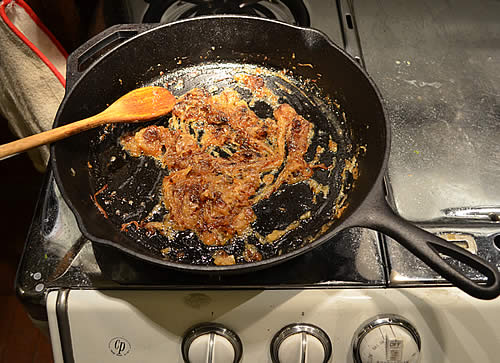
After about half an hour, remove the lid and sprinkle in a little salt. You will notice the volume is starting to shrink. Leave the lid off and allow the juices to start to evaporate; keep stirring every 10 minutes or so, for an hour or more, until the onions are a uniform golden brown. (When they’re close to being done, keep a closer eye on them. They can go from caramelized to burned if you’re not careful.)
The caramelization process not only reduces the onions/leeks to a quarter or less of their original volume (excess leek problem solved!), it also renders them silky smooth, sweet and delicious! On top of that, it creates a heady kitchen aroma… hard not to drool!
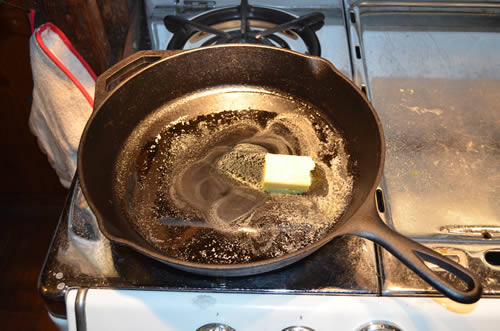
In these pictures I am indeed caramelizing onions, but the process is exactly the same for leeks. Note how dramatically the volume of onion reduces in this series of pictures! It really is astounding.
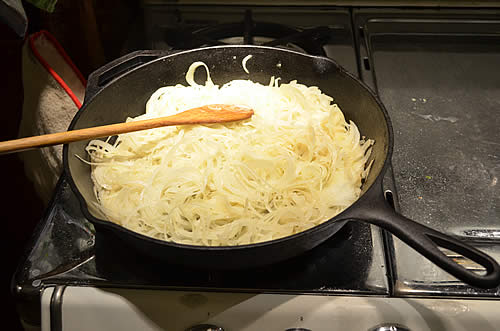
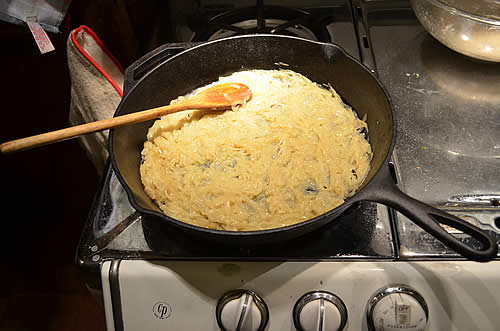
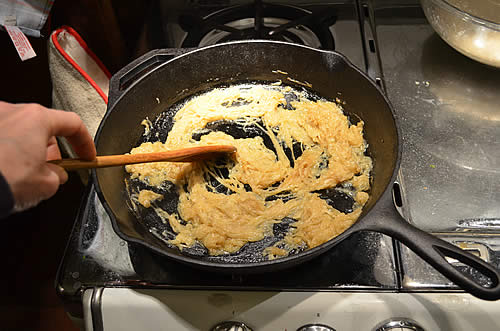
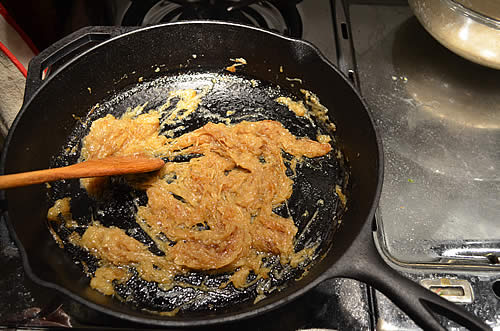
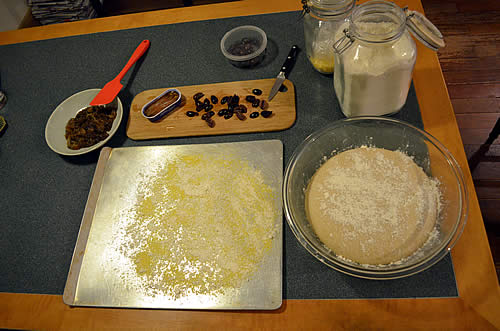
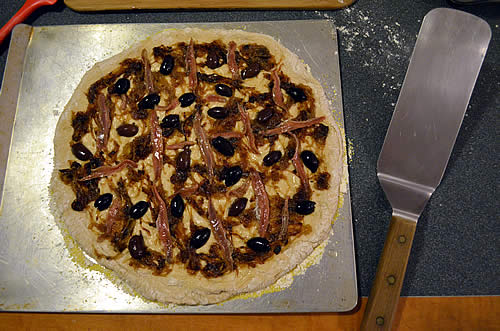
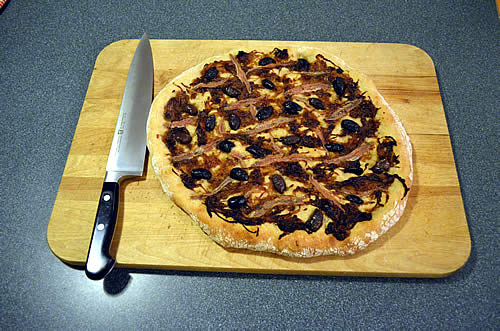
Now your next question is probably going to be, what do you do with those caramelized onions or leeks? Heck, so many things! Use them as a topping for anything from baked or mashed potatoes to sauteed greens, to grilled cheese sandwiches or steaks or chops if you’re a meat-eater; I like to use them on homemade pizza — my favorite? Caramelized onion (or leek!), anchovy and Kalamata olives. It’s almost like a foccacia, really. Anyway, that’s what I did here. If you just want to cook ’em up when you have some spare time, they’d freeze beautifully for later use, so don’t be afraid caramelize them just ‘cuz you don’t have a particular use for them yet.
If you want to make your own pizza dough and homemade pizza; here’s how I do it (recipe in my old database, from 2009).


