I read the most wonderful book recently entitled An Everlasting Meal by Tamar Adler. (Oodles of thanks go out to CSA member Cynthia Fan, who recommended it to me! I am forever grateful.) If you can find it at your local library, check it out — you won’t be sorry. That’s what I did, and I loved it so much I had to purchase myself a copy because I wanted to dog-ear pages and underline and circle stuff and write things like, “yes! exactly!!” in the margins. This book re-reminded me that preparing a meal is not a discrete enterprise, but rather that meals (that’s plural, with an “s”) are an evolutionary process that take place over time, where the end of one thing becomes the beginning of another, and what’s left from that can be transformed into yet another thing, and nothing need go to waste. Meals are a process, as well as a product.
With that in mind, I want to talk about beets. Simple, beautiful beets. Not beet recipes, but the Tamar-inspired process of handling them, preparing them, and then being comfortable with deploying them over the course of a week in various guises. I by no means exhaust all the things you can do with them here; all I want to demonstrate is that this is easy. I think sometimes people are daunted by beets, and they shouldn’t be. Once you get over the hump of cooking with a scary new vegetable for the first time, you’ll find fear is rapidly replaced by the easy confidence of experience, and then quickly wonder what all the fuss had been about in the first place.
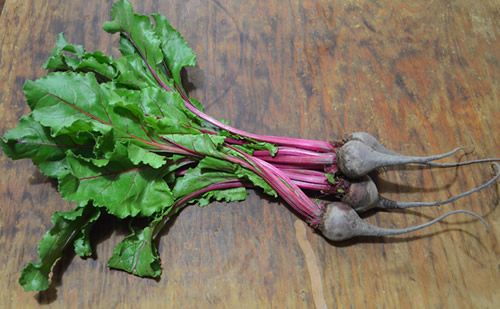
Back to beets. They have different parts – roots, stems, leaves; you can eat all parts (the leaves are so very like chard), and of course Tamar encourages this (I do too) –however I include under the “nothing need go to waste” umbrella other beings in addition to ourselves. I.e. if you aren’t going to eat some part of the plant yourself, the leaves or stems, say, there are others – your chickens or rabbit or worm-bin worms… even the microbes in your compost pile – who will gladly make good use of them, hence they will not go to waste. Waste, to me, is when food goes into your garbage can, then into an anaerobic landfill where its nutrients are prevented from returning back into the earth. But I digress.
Beets, when separated from their stems/leaves, will keep many weeks in the cool of your refrigerator, however like most veggies they’re best when fresh. But if you don’t think you’re going to get to them this week, don’t dismay; just separate them from their stems/leaves, bag and refrigerate ’til you can get to them. This is helpful if you want a larger accumulation of them to prepare; you can combine beets from more than one week’s CSA share and cook them all at once. That’s what I did here. Well – truth time – we’ve been off from the CSA for a month, so these were beets I got from the farmers market — goldens one week, reds the next — but the process is the same no matter where you got them from.
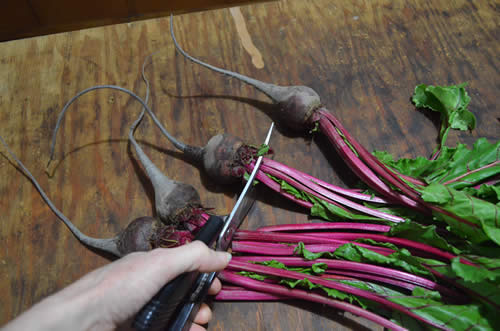
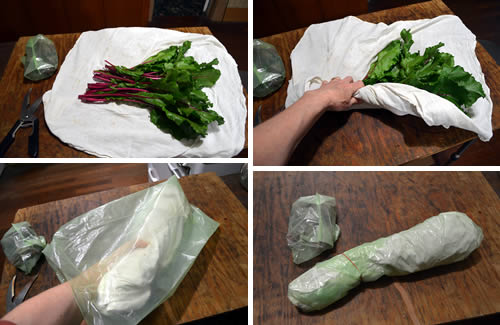
When I get my beets home, I always cut and store the roots and leaves separately. I’ve taken to using these EvertFresh produce bags as they seem to contribute to veggies’ freshness during storage, but you need to make sure the things you store in them are completely dry (The same logic applies even if you’re using a regular plastic bag; wet produce in a plastic bag rots pretty quickly). If I don’t have time to wash and lay out greens to air dry before storing, a quick-and-dirty that works great is to simply roll them up in a cotton floursack towel and stick them, towel and all, into the bag. The towel absorbs the moisture. Then a day or so later, remove the towel, which will have absorbed the moisture, and put the (now dry) greens back into the bag. Works like a charm. They’ll keep nice and fresh for a week or more this way.
(Here they are the next day, fresh as a daisy, but no more moisture clinging. Took ’em out of the floursack towel and returned them to the bag.)
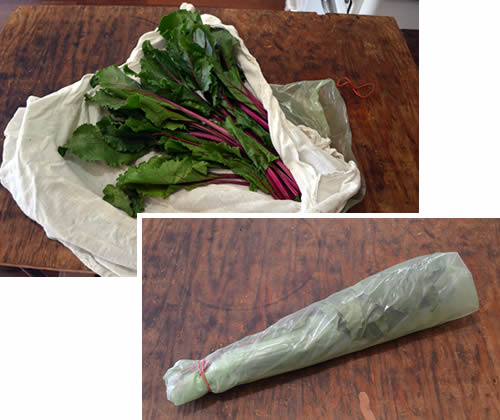
Okay. You’ve done your initial stabilization and storage; time to put your treasures into play!
The beets themselves – the short of it: rinse ’em, roast ’em, peel ’em, vinegar ’em. Do ’em all at once, so they’ll be at the ready for quick inclusion into meals over the week. Vinegar, you ask? Here’s a quote from An Everlasting Meal that stuck with me: “Vinegar seems to bring out the very essence of the beet. It doesn’t make theoretical sense that they’d taste more like themselves after being dressed with vinegar, but this is not theoretical.” You know what? Tamar’s right! I didn’t know that before, but sure enough, the vinegar just enhances the beets’ beety-ness. New wrinkle for the ol’ grey matter! I love that! Right; okay, on to the long of it.
Preheat your oven. 400 degrees.

Rinse ’em. Since the beets are going to get peeled, you don’t really need to scrub them, just give ’em a rinse in the dish you’re going to roast them in ’til the water runs clear (leaving some of the water in the bottom so they’ll steam while roasting). Tamar says to give ’em a drizzle of olive oil, and I’ve done it both with and without (without, ‘cuz I forgot), and haven’t noticed a difference in how they cook, so feel free to go either way.
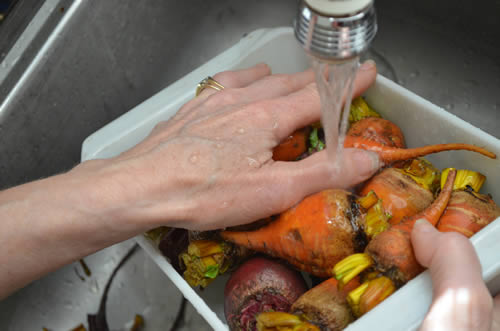
(leave a little water behind in the dish)
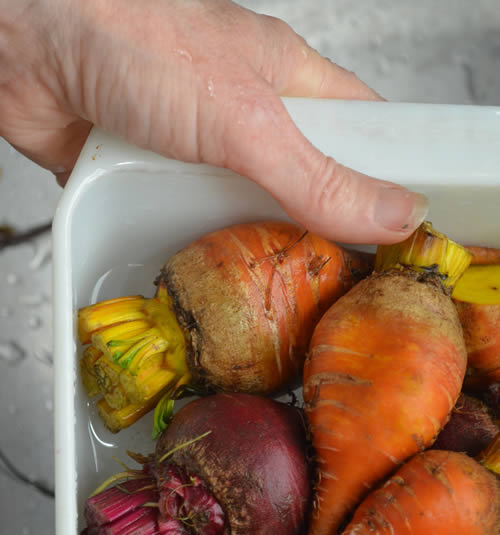
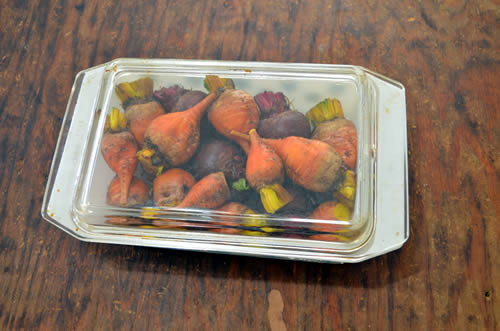
Roast ’em. Cover the beets before sticking in the oven. I have this old covered baking dish of my grandmother’s, but you can just use foil if you don’t have a covered dish. Actually, I don’t like aluminum foil being in direct contact with my food, so I follow Rebecca’s lead and put a sheet of parchment paper between the foil and veggies. Whichever way you go, seal it up good. Roast them for 40 minutes, then test them –
The tip of a sharp knife should meet no resistance when slipped into a done beet. As Tamar says, “If you’re not sure if they’re done, they’re not.” If you’re cooking beets of different sizes together, pull out the done ones, re-cover and continue to cook the others as needed. Actually if I have some beets that are big and some small, I just cut the big ones in half and tuck them in amongst the small whole ones. People say “don’t cut the beets or they’ll bleed” – and I ask you, have you ever had beets not bleed? Even if left whole? Sheesh. Cut them guilt free. They bleed no matter what.
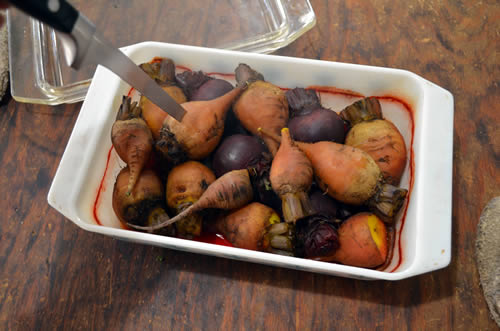
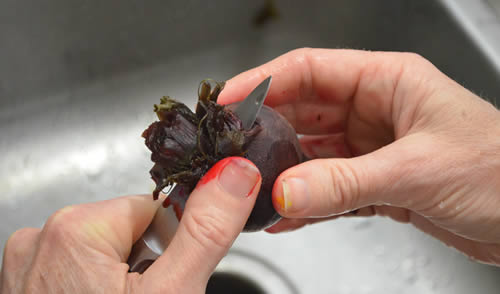
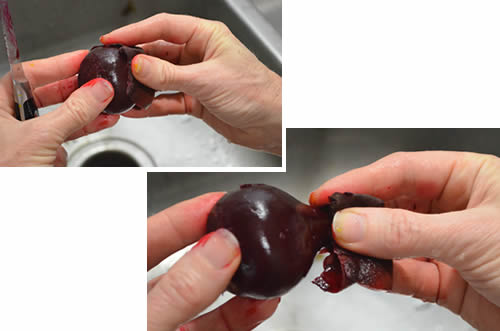
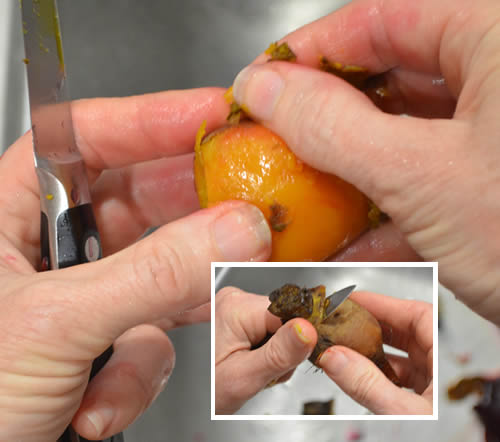
Peel ’em. This is the messy-fun part. When cool enough to handle (if impatience prevails such that I can’t wait for them to cool naturally, I’ve been known to stick ’em under a cold faucet), they’re easy to peel. Cut off the top, then get a grip on the peel and sorta squinch it towards the root end and it just slides right off. You can cut the root off before or after; doesn’t matter. Sometimes you’ll get a beet that doesn’t want to squinch nicely and so maybe you have to do a little rubbing with a thumb or scraping with a knife. (The goldens seemed more recalcitrant than the reds, but I don’t know if that was because they were older, or had more imperfections in their skins or what.) Yeah your fingers will get stained, but it washes off easily.
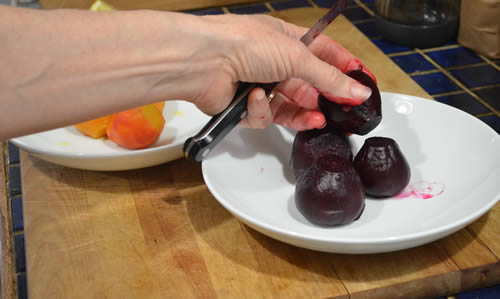
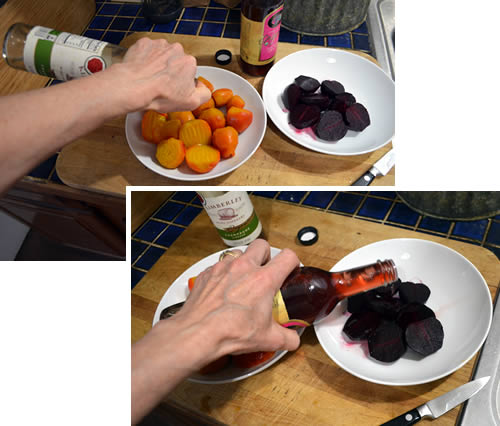
Vinegar ’em. Cut the beets; halves, slices, wedges… you just want to offer up surfaces for accepting the vinegar. If I have two different color beets like I do here, I’ll vinegar them separately, and use a lighter color vinegar (champagne, white wine, cider or rice) for the goldens, and a red wine vinegar for the reds, but you don’t have to do this. You can use the same vinegar for all and they’ll be just as good. Tamar says to salt ’em too, and I’m either-or on that front, seeing as how some vinegars have their own saltiness; taste one with just the vinegar, see what you think. If you think “salt” then add some.
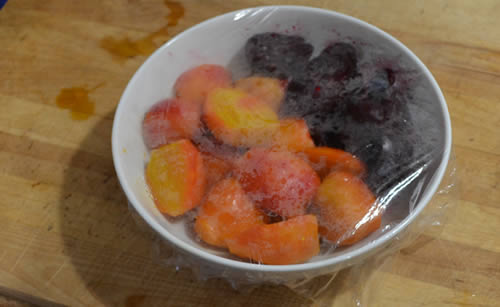
They are now in a good way, happy and ready to be eaten right now if you like (drizzle with a little olive oil and sprinkle with salt if you didn’t above), or put into the fridge for “instant” availability later. I put them all in the same bowl just so they’d take up less space in the fridge. They don’t mind being snuggled together. That’s what I did in this example, and then pulled them out on four different occasions, using a few each time ’til they were all gone about a week later…
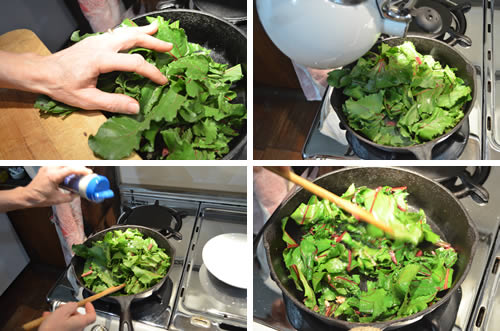
Occasion One. Served atop their sauteed tops. Chop the greens (the ones you so lovingly stored and bagged). Chop some garlic. Heat some olive oil in a skillet. Add said garlic, sizzle for a moment or two…
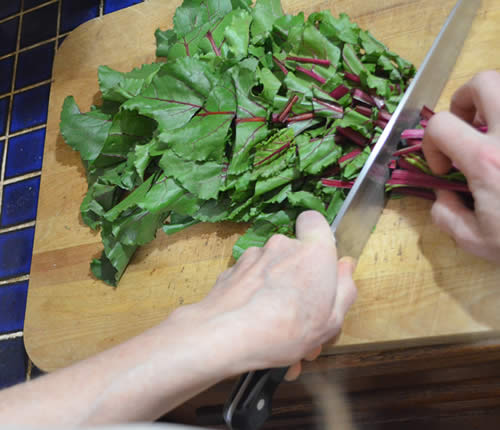
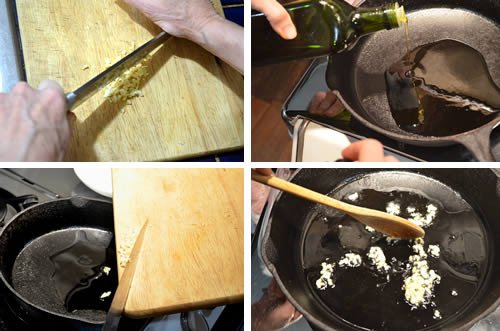
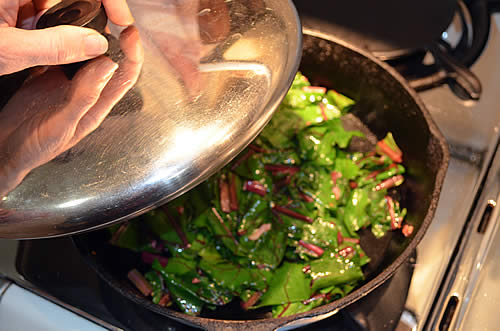
Add the chopped tops, a splash of water, a goodly sprinkle of salt. Give ’em a bit of a stir to see they’re starting to wilt, then cover and let steam until they’re tender to your liking.
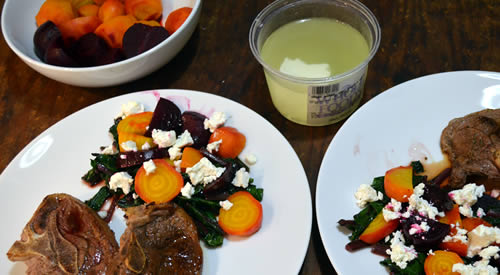
Put cooked greens on your plate, cut up some beets and put ’em on top (cold or room temperature is fine; you don’t need to reheat them); dress them all with more vinegar and some olive oil, maybe another sprinkling of salt. Crumble on some feta cheese if you like.
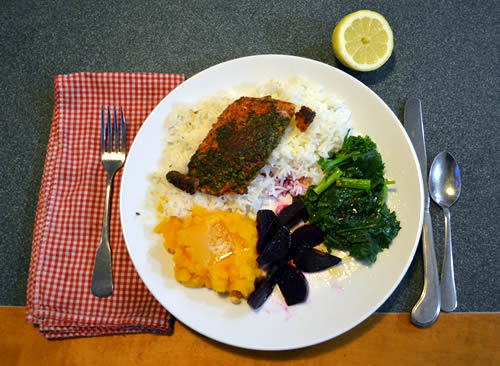
Occasion Two. Plain. Just cut ’em up (cold or room temp) and include them as a side with your meal. A little lemon or vinegar, a little olive oil and salt; the usual suspects. Or go ahead and heat them and then melt a little butter over them and sprinkle them with salt. Look at the beautiful color they add to the meal! A little pureed squash to one side, something green to the other… that’s just a little piece of pan-browned fish on the rice, but it could be anything. You get the idea.
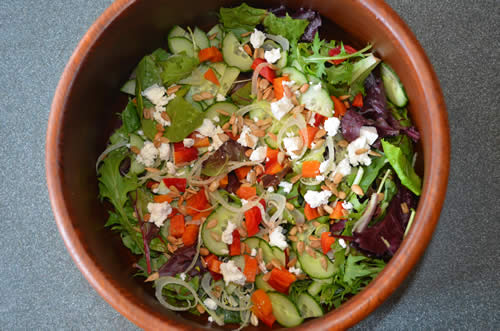
Occasion Three. Diced up into a tossed salad. No more explanation needed.
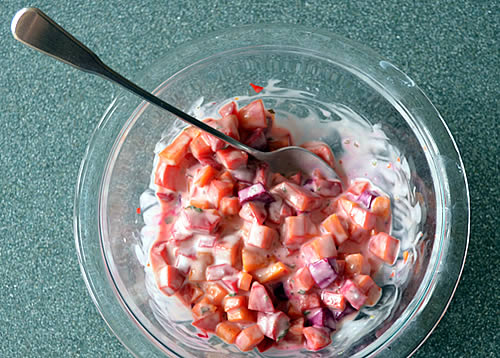
Occasion Four. Yogurt and Mint. This is what I did with my remaining beets. Is it a side dish? Is it a salad? Yes. Just dice them up and add chopped fresh mint and plain yogurt. Quick; tasty!

